
How To Take Epic Astrophotography - BeGinNers Guide


ABOUT ASTROPHOTOGRAPHY
Astrophotography is out of this world! Pun intended. I am always in awe when I see a picture of the night sky and the stars that light it up, especially if it is of my own taking. I have come to learn how versatile the night sky can be. It is something that exists every single day all over the world and is constantly changing. The photography opportunities with astrophotography are unlimited.
Shortly after I really got into photography I noticed pictures of the night sky and knew that I had to get into it, so I did my research. Low aperture, long shutter speed, and high ISO. This is what I discovered was the key. My camera lens needed to be able to let a lot of light in when there was so little around. Astrophotography pictures that I saw online amazed me but also scared me a lot. I have come to learn though my own experience that it really isn’t as hard as it can be made out to be.

ASTROPHOTOGRAPHY TIPS AND SETTINGS
The main tips that I recommend for astrophotography are as follow…
· Tripod
· Remote Shutter, or delayed shutter
· Camera that preforms well in low light
· Low Aperture Lens
· Manual Focus
Not much is required for astrophotography. The most important thing is having a camera that doesn’t move while the picture is being taken. I always set up my camera on my tripod.
Once I got all the essentials for astrophotography and found I spot that I wanted to shoot all that was left was to go try it out. The results amazed me! I never imagined I would be able to capture images as stunning as I have.
KEYS TO SUCCEEDING IN ASTROPHOTOGRAPHY
My keys to success involved a few actions that I took.
1. Finding a dark area to shoot
2. Having a tripod and remote shutter in order to avoid any sort of blur to the image
3. Manually focusing on the brightest star until it was as small and sharp as possible
The settings used for each astro image I have taken vary. I always use the lowest aperture that my lens will allow me to shoot at. I also use the 500 rule which means that your shutter speed shouldn’t be longer than 500/focal length. I just use 15 seconds at the most as a rule of thumb. If the exposure is too long then the stars will start to move and not be super sharp. Once I have these two settings set up I will adjust the ISO of the image. Expect for it to be high, I usually shoot with at least 800 ISO if not even more.

CONCLUSION
If you follow the main bulleted key points in this guide then astrophotography should start to come naturally to you! Make sure to practice as much as you can and don’t get discouraged if your first few attempts aren’t the best, mine certainly weren’t.
If you have any questions about astrophotography, feel free to contact me via the contact page!
MAIN TAKEAWAYS
- Tripod
- Low Aperture
- 10-20 Second Exposure Time
- High ISO
- Manual Focus on Brightest Star

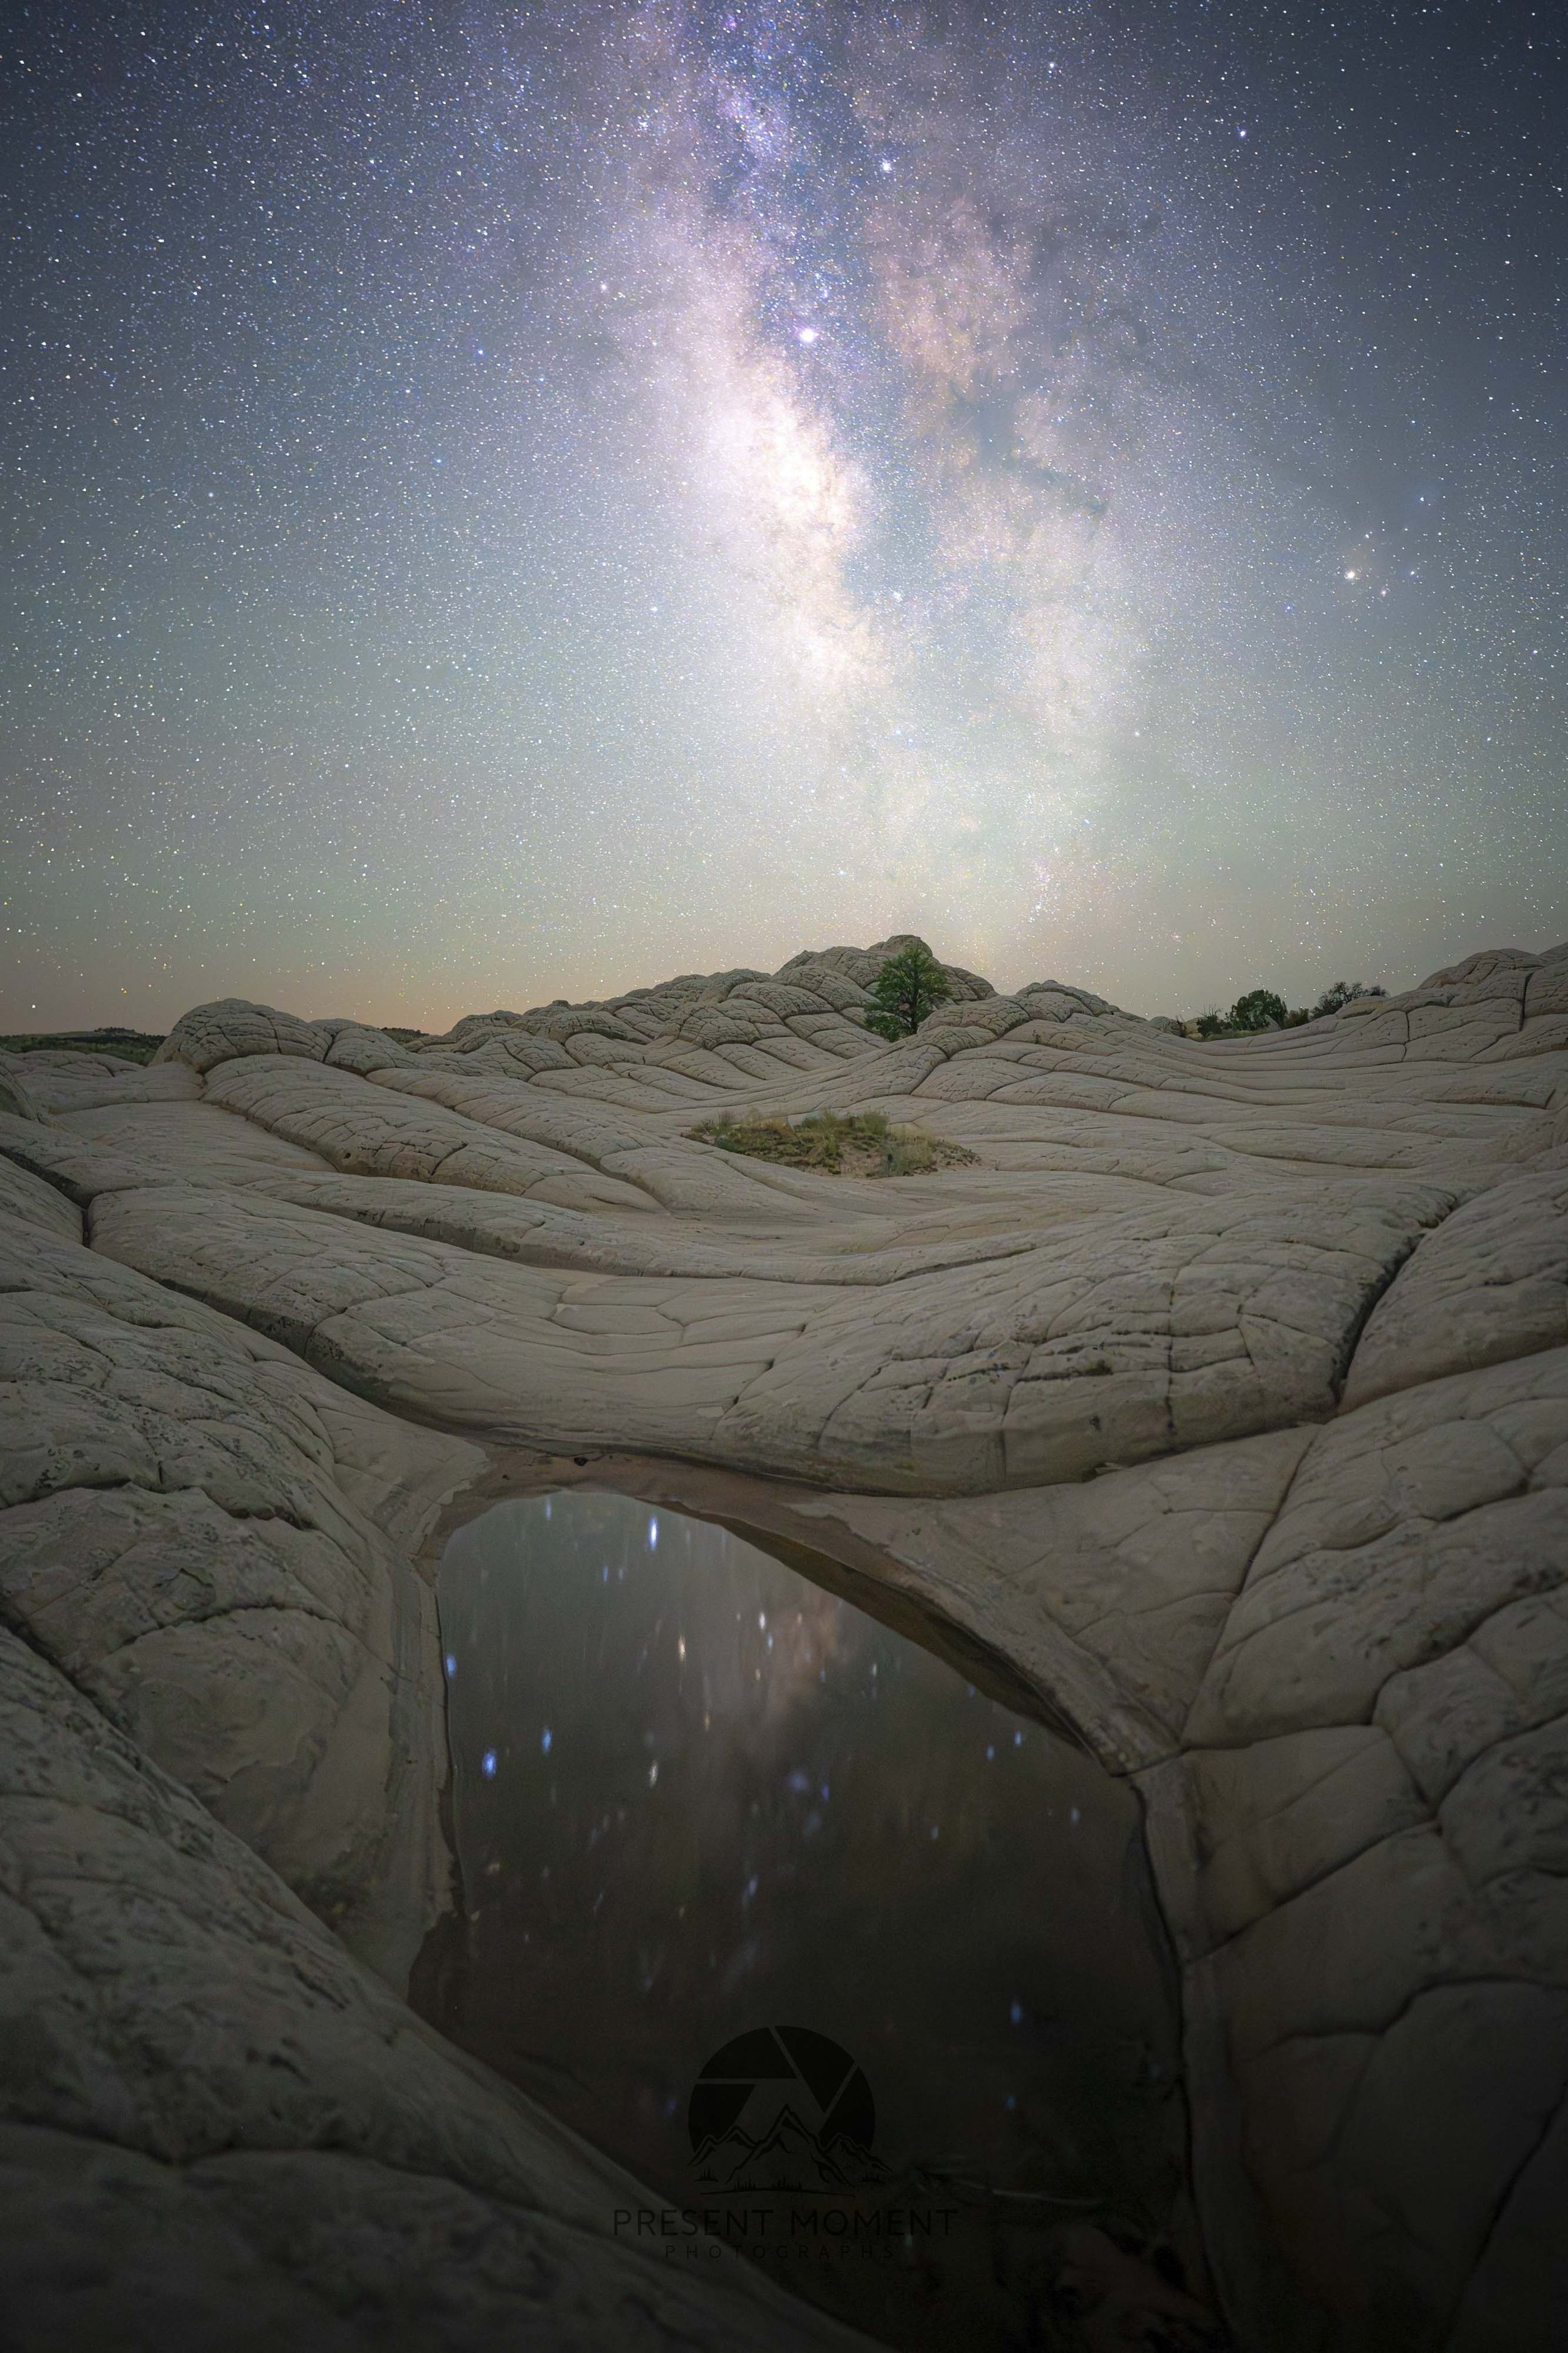
Photograph taken in The Vermillion Cliffs, Arizona