
Focus Stacking for better landscape photography

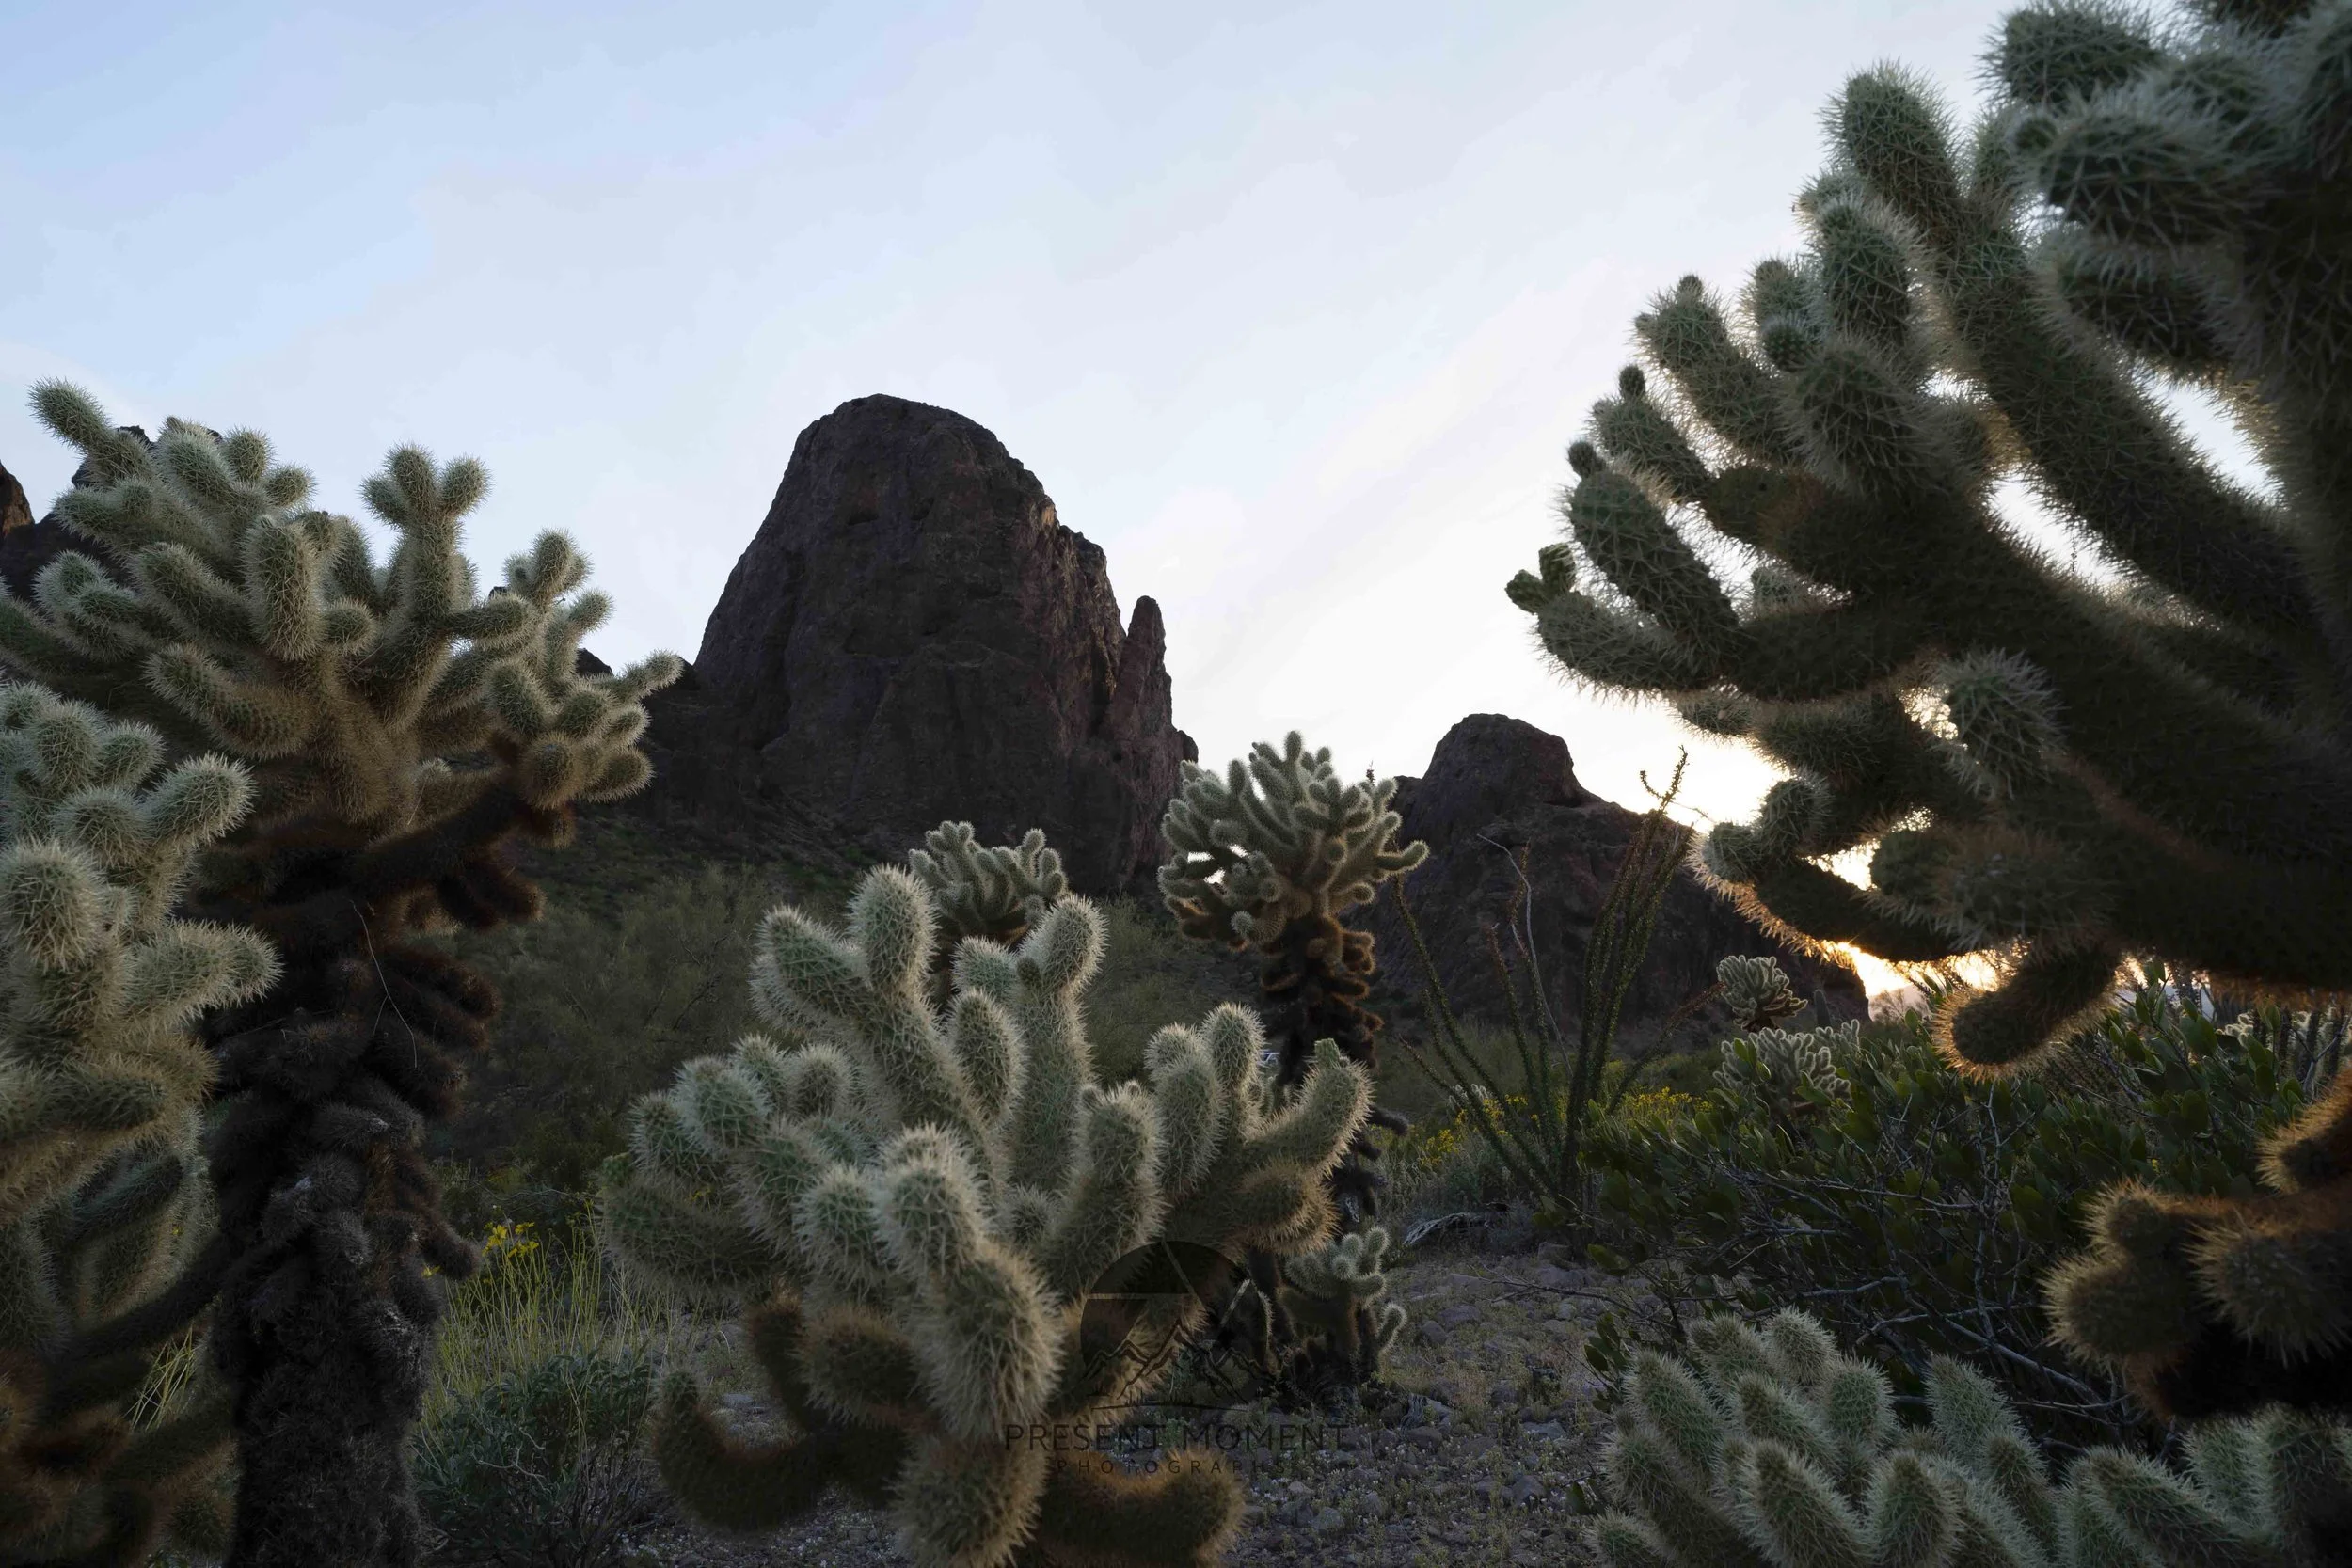
A focus stacked image
What is Focus Stacking?
Focus stacking is a method of photography that involves taking multiple photographs from the same location all focused at different points in the scene. Focusing on these different points is helpful when we want to keep something close to the lens and far from the lens both in focus at the same time without compromising sharpness by closing the aperture. Focus stacking images generally involves 3 images but could be anywhere from 2-5 photos.
Why Should I Focus Stack?
Focus stacking is important when you have a foreground element close to the camera and something in the background and you want both of the elements to be in focus of the photograph. An example of this would be putting the lens right behind some cactus’ and also having mountains in the background. You could try and shoot with a more closer aperture around f/18 or f/20 although images are usually sharpest from edge to edge around f/9. F/9 won’t always get the whole scene in focus though and that is when focus stacking is helpful.
Focus stacking is also super important to use if you plan to print your images as small things being blurry or not sharp may not be noticeable on your camera or computer but will be once an image is enlarged to be printed.
How to Focus Stack – In The Field
The first thing to do is dial in your camera settings. Aperture priority mode or manual mode are the best for focus stacking so you can set your camera to the sharpest aperture possible. I always photograph my focus stacked images in f/8 or f/9 as those are the sharpest apertures for what is in focus. If you have questions about how to adjust camera settings in manual mode check out my full-guide on shooting in manual.
Once your settings are ready to go you want to set your camera’s focus mode to autofocus and change the area to flexible spot medium. There are a few different settings you can use here but the most important thing is that you have autofocus on but the area you are focusing to is manually set. There should be a small square on the camera which you can adjust by either touching the screen or with the pad on the back of the camera.
The first photograph you take should be focused on what is closest to the camera. The next image should be of the midground and about 10 feet away from the camera. The final image should be of the background, usually this winds up being mountains but any feature you have in the distance will work.
*A little tip that I will use when focus stacking is first taking a photo of my hand in front of the camera then starting the focus stack. This helps identify which images are a part of the focus stack when I get home and have a lot of photos to sort through.


How to Focus Stack in Photoshop
Once you get home with your new and awesome landscape images it is time for the stacking to happen! Open up Photoshop and head over to file in the top left. Select scripts then load files into stack. You want to select “Attempt to automatically align source images”. This will help make sure all the images are aligned in case you moved the camera a bit or there was some movement from the focus changing.
Once you have all the images loaded into Photoshop you want to highlight them all in the panel on the right and then go up to edit in the top menu panel. Select the option that says “Auto-Blend Layers” which is about halfway down the dropdown menu. Let Photoshop do it’s thing and voila! You now have a focus stacked image.
Sometime Photoshop isn’t perfect and that’s ok, nobody is. This being said it is important to double check the images and make sure everything is in focus. If something is not you will want to select the adjustment layer in the bottom right next to the layer that isn’t in focus that should be. Then hit “B” or select the brush in photoshop and brush away the area that you want to be in focus. You can also brush onto layers to add focus depending on where they are on top of one another in Photoshop.


Conclusion
I hope this guide helps you with your focus stacking so that you can get super sharp and beautiful landscape images that are worthy of being displayed on any wall! Check out my other guides for everything photography and travel.